How to Clean Washer Gasket Mold Yourself — and When DIY Stops Working
By Vent Pro NYC · · 5 min read
We clean washer gaskets for a living, and we’ll tell you something most companies won’t: a light case of gasket mold is a job you can do yourself. Here’s the honest version of how — and the equally honest version of where DIY tends to stall.
What you need
- Rubber gloves
- Warm water with a squirt of dish soap
- A soft brush — an old toothbrush works
- Two or three rags or microfiber cloths
- Twenty minutes you weren’t saving for anything fun
The steps
- Empty the machine and fold the rubber lip back toward you so the channel underneath is exposed.
- Clear out the loose debris first — lint, hair, the odd sock. A dry rag does this best.
- Work the soapy water into every fold with the brush. Go around the full ring, not just the spots you can see from the front — mold hides at the bottom where water pools.
- Wipe everything out with a clean damp rag, then — this is the step people skip — dry the folds completely with a fresh one.
- Run the machine’s hottest tub-clean or self-clean cycle, empty, to flush what you loosened.
- Leave the door open so the gasket dries out fully.
When DIY stops working
A soapy scrub handles surface growth. It stalls when the mold has had months to settle in. The signs are consistent:
- The smell and spots come back within a couple of weeks, every time.
- The growth sits deep under the fold or in the drain channel, where a toothbrush can’t reach with any real pressure.
- The rubber shows flat black staining that scrubbing doesn’t budge at all — at that point you’re fighting stain, not mold, and no amount of elbow grease changes it.
What we do differently
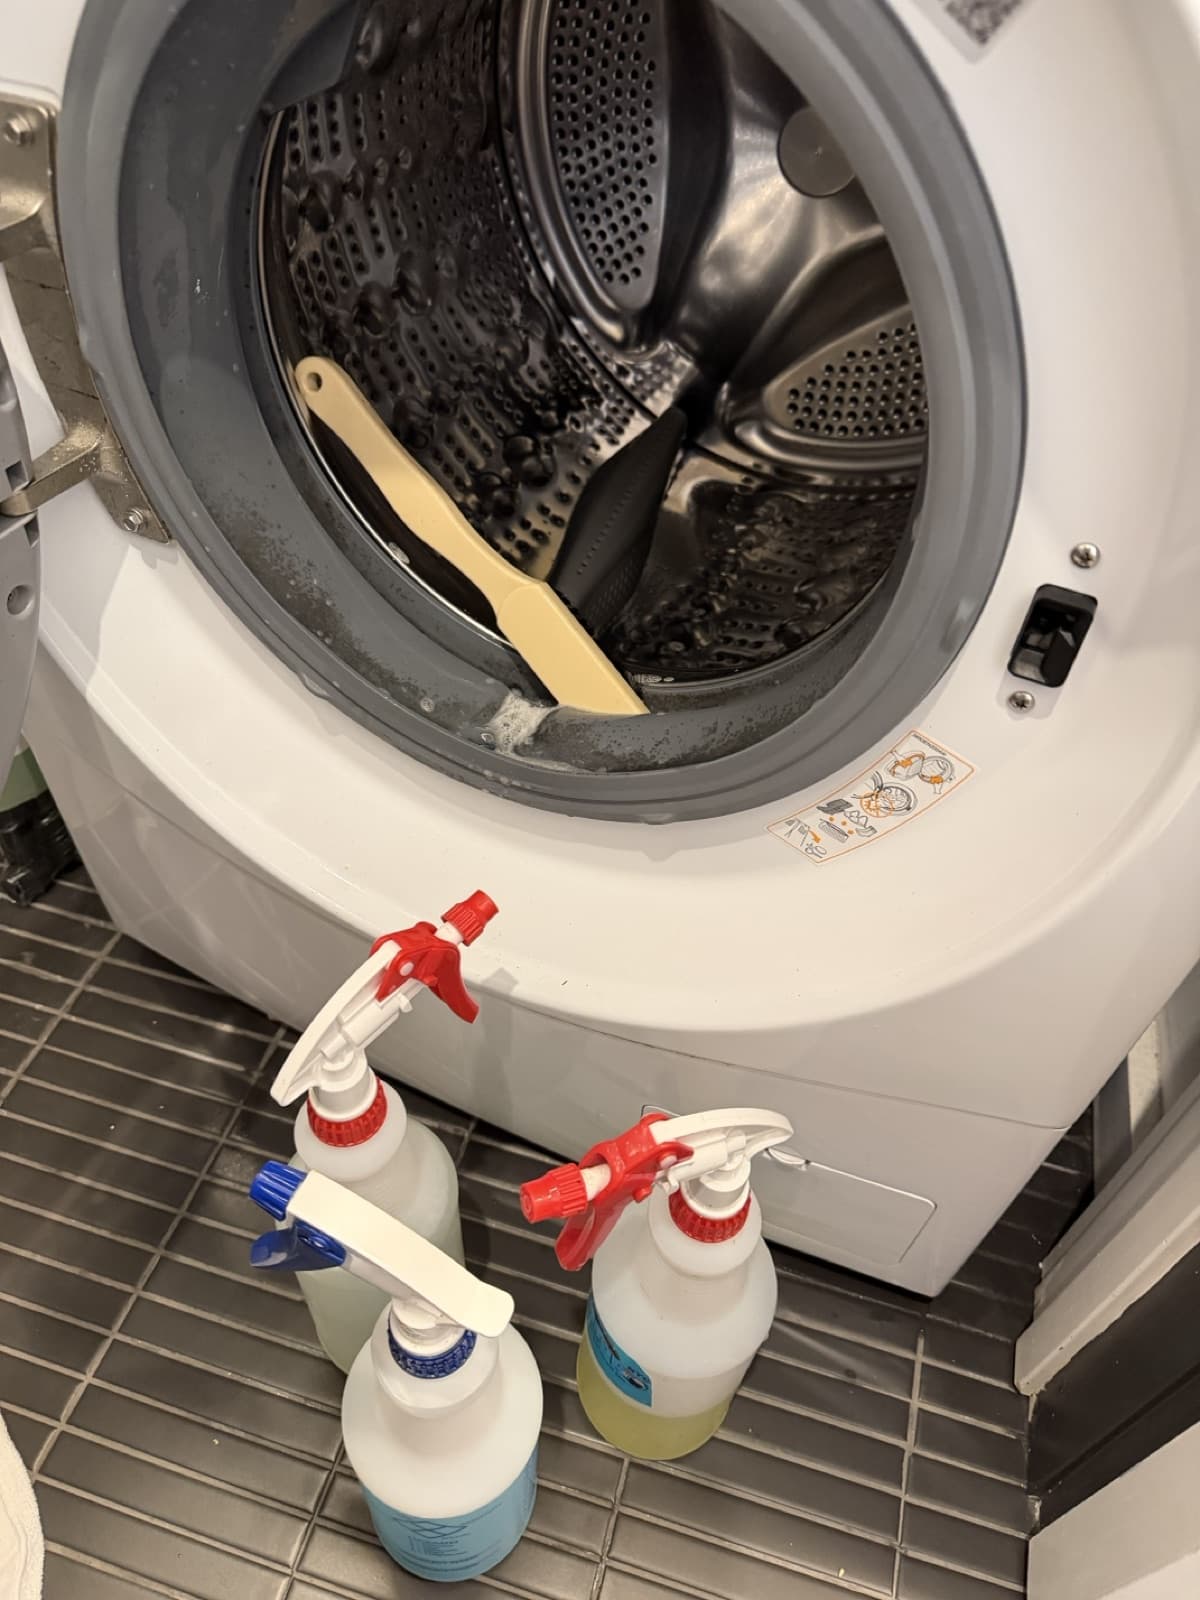
Our visit is a four-step treatment: three cleaning solutions we mix in-house — formulated to pull mold out of the rubber without cracking or drying it — worked into every fold and dried down between coats, then a mold-stain remover gel over any staining that’s left. You finish the job by running the machine-cleaning tablet we leave behind through an empty tub-clean cycle, and the washer is back in service the same day.